Scenario Overview
When setting up a scenario, you are setting the context, learning objectives and expectations for the learner. This article covers setting up the initial overview, and also covers recording or specifying the pre-start videos.
The Scenario Overview is the very first step to configure once you have selected a template. You must provide two important details, the rest of the details are optional:
- Name/Title: You must provide a name for the scenario. This appears to learners before they start the scenario, so. it’s important this doesn’t contain anything sensitive.
- Description: This covers what the scenario is about, providing details around the context, the problem, and setting expectations… as well as learning objectives, if appropriate. This is usually a few sentences long.
You then have a number of optional components you can provide using the ‘Add Media’ button:

Images and Videos can be viewed by learners in a pop-up dialog as the scenario is running. Files will be downloaded for the learner to review.
if you are a police or forensic authority using our secure module, please contact your account manager for more information on the secure viewer.
Renaming and Deleting Media
Use the ‘Remove’ icon in the top right of the image to remove media, or click the Pencil icon to change the image description.
Restricting Media by Task
It is possible to restrict media – images, videos and files – in the overview from showing depending on the currently active task. To do this, click the Padlock icon on each image:
This will then bring up the stage (task) availability dialog:
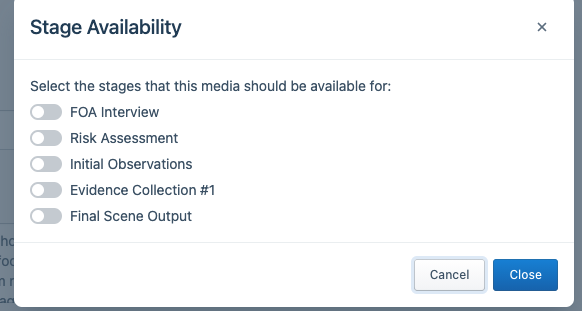
Select which tasks you would like the media to be available for.
Note: If none are selected, the media is available for all tasks.