Getting Started: A case of bad tea
Now that you have created an account, let’s start by creating a very simple investigative case study to demonstrate the basic functionality of the Resimion system. This case study is a fictitious case of a friend creating a bad cup of tea, and the user running the Resim – the investigator – asking questions to find out why before reaching a conclusion.
In this guide we will build this case study Resim together, step by step.
Create a New Resim
Before you start this guide, make sure you have a space available where you can create a scenario. If you don’t, you can see our guide here on creating spaces.
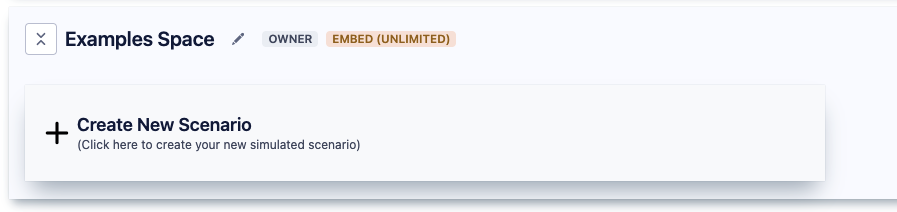
In your selected space, click ‘Create New Scenario’ to get started and create your first Resim.
After a second or so, the screen will change and you will be presented with an empty Resim. Make sure the ‘Setup’ tab is selected, and select the ‘Investigation’ template, as this is the closest to our needs.
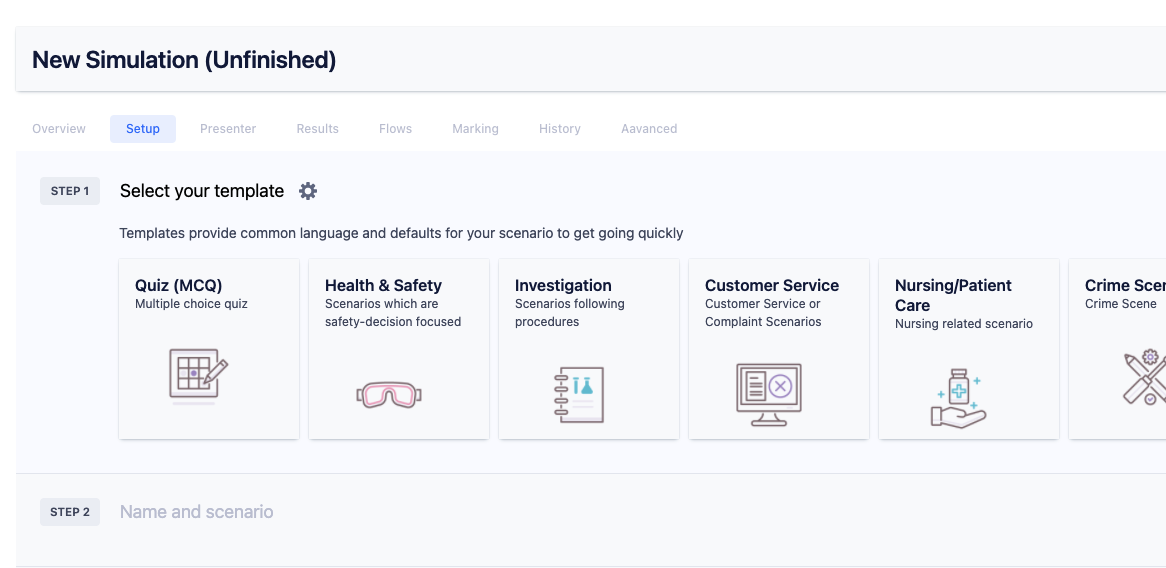
Click the ‘Continue’ button and Step 2 will then activate.
Adding a Name, Description and Image
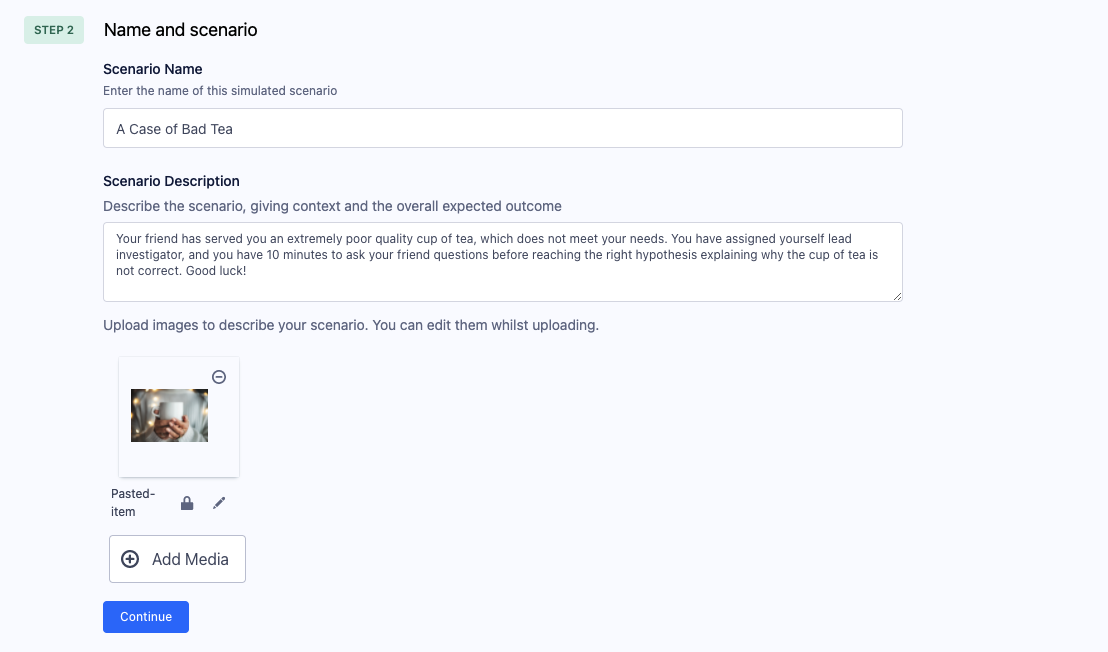
We now need to Name our Resim, and provide a description of the problem or activity that we want learners to work through. In this case, we will provide the following details:
Name: A Case of Bad Tea
Description: Your friend has served you an extremely poor quality cup of tea, which does not meet your needs. You have assigned yourself lead investigator, and you have 10 minutes to ask your friend questions before reaching the right hypothesis explaining why the cup of tea is not correct. Good luck!
Image:

Select and copy the Name and Description into the Resim. For the image, right click above, click ‘Copy Image’, and then in Resimion click the Add Media button and ‘Image(s) from Clipboard’.
Note: Your browser might ask you to confirm if it’s OK to access the clipboard. Click ‘Allow’ since you know this is a safe website.
Your Resim should now look as follows:
Click ‘Continue’ to move to the next step.
Setup Scoring
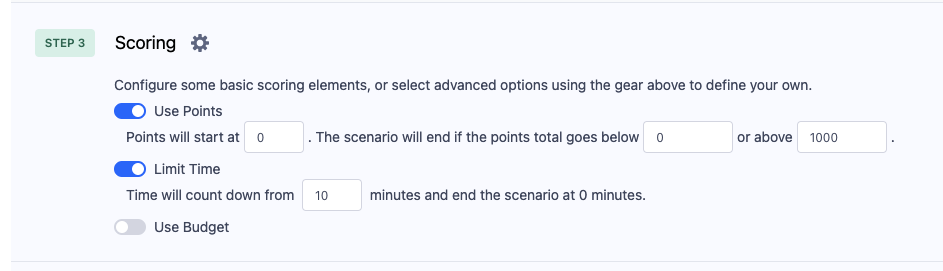
For our case study, we want to give the user 10 minutes to ask questions before reaching a hypothesis. We can quickly do this by changing the default 15 minutes, to 10 minutes in Step 3.
We also want to use Points, but not do anything more advanced for this case, so we leave the defaults.
At this point you should scroll up to the top, and click ‘Save Changes’. If your changes save successfully, you will see a green bar appear confirming the save was successful.
Adding Content
The hardest part of any Resim is adding the interim and output decisions – or better known as ‘the content’. Click Step 4 to get started, and we’ll approach this step by first adding all the decisions that we can think of – including questions and possible hypothesis – and then mark decisions as right/wrong and add points and some time impacts. Remember that every decision should also have some feedback as well.
Firstly, you will notice we are currently using ‘Procedures’ and ‘Findings’ as our interim and output decisions. We are going to change this language by clicking on the pencil next to each, and modifying the terms used so suit our purpose. We change these to ‘Question’ and ‘Hypothesis’, and the system works out the pluralisation for us.
You will now notice the language has changed:

Our next step is to add 10 questions for our friend, and 3 hypothesis. We can either add them individually, or use Bulk Add.
Adding questions (Bulk method)
To demonstrate both, we’ll start by using Bulk Add for the questions. Click ‘Bulk Add’, and copy-and-paste the following list:
Did you boil the kettle?
What did you put in the cup first?
What ingredients did you add to the tea?
What type of teabag did you use?
What order did you add the ingredients in?
Did you stir the tea before serving?
How long did you leave the tea before serving it to me?
Did you use any interim devices in the creation of the tea?
When did you last descale your kettle?
How did you boil the water?
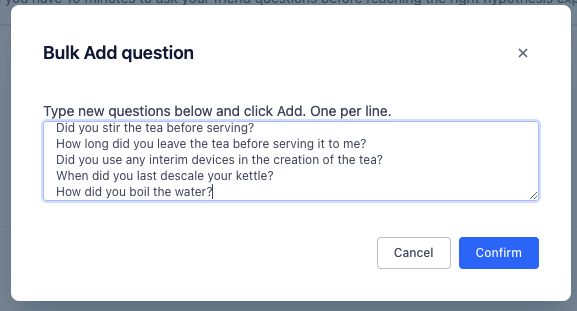
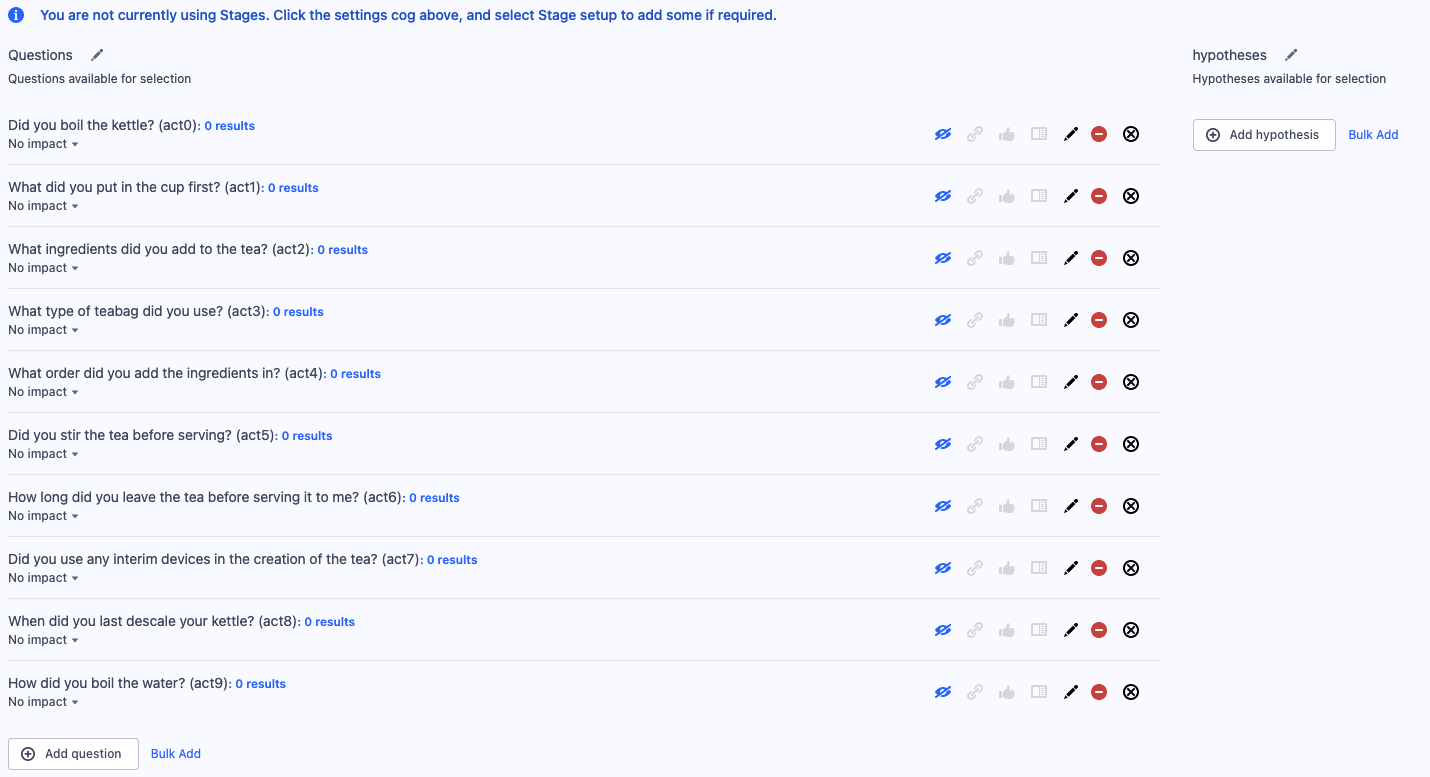
Click confirm, and the questions should appear in the content pane:
Adding responses to the questions
Interim decisions, in this case our questions, should provide more information (or ‘facts’) when selected, regardless of whether these are right or wrong. In our example we are just going to use one-line text responses, but optionally you could record these as video responses or provide files, images or external videos.
Here are the example responses:
| Question | Response |
| Did you boil the kettle? | Yes, the kettle was boiled and stopped on it’s own |
| What did you put in the cup first? | I put the milk in the cup first |
| What ingredients did you add to the tea? | I added milk, teabag, cold and hot water, and sugar |
| What type of teabag did you use? | I used an English Breakfast teabag |
| What order did you add the ingredients in? | I added the milk, then the teabag, then the cold water and then the hot water in the teapot |
| Did you stir the tea before serving? | Yes, I stirred for a few seconds |
| How long did you leave the tea before serving it to me? | It was left in the teapot for about 20 minutes |
| Did you use any interim devices in the creation of the tea? | Yes, I used a teapot to store the tea so it could brew |
| When did you last descale your kettle? | I have never descaled my kettle in the 5 years I have had it |
| How did you boil the water? | I boiled the water in my kettle. It was probably boiled a few times. |
To add the responses to each question, click the pencil next to each question. This opens a dialog – click the ‘Results’ tab. Paste the text response, and click the ‘+’ icon, and the response should be added:
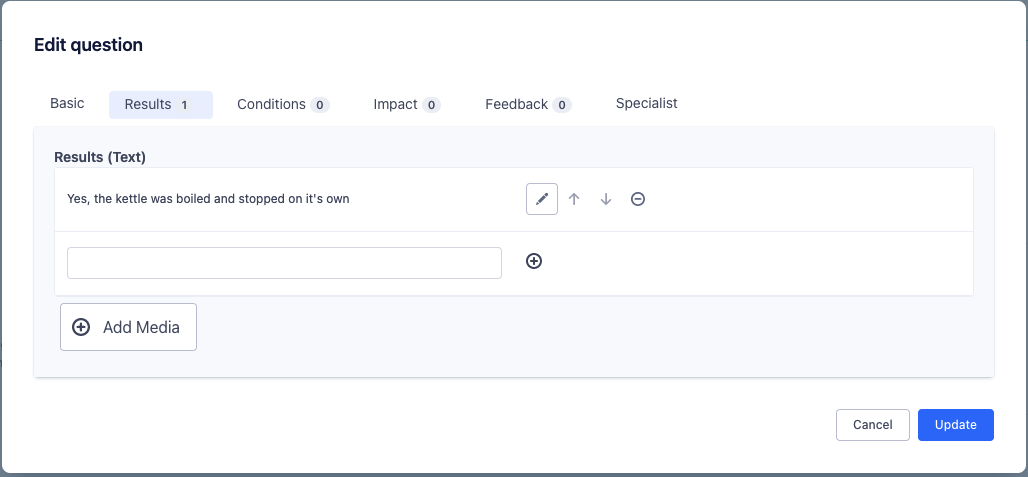
Click ‘Update’, and repeat the process for the remaining 9 questions.
Adding Hypotheses (Individual method)
We are going to add each hypothesis individually to look at the alternative method of adding . Click ‘Add hypothesis’ and a dialog will pop up.
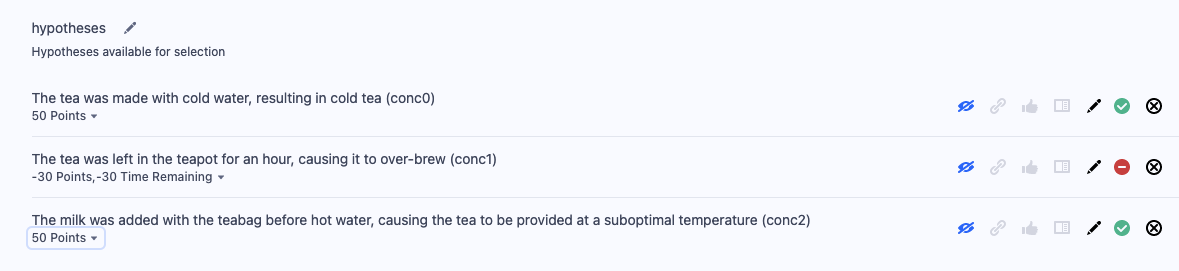
The following 3 hypothesis will be added:
The tea was made with cold water, resulting in cold tea
The tea was left in the teapot for an hour, causing it to over-brew
The milk was added with the teabag before hot water, causing the tea to be provided at a suboptimal temperature
Let’s add our first hypothesis. Click ‘Add Hypothesis’, and a dialog will be shown.
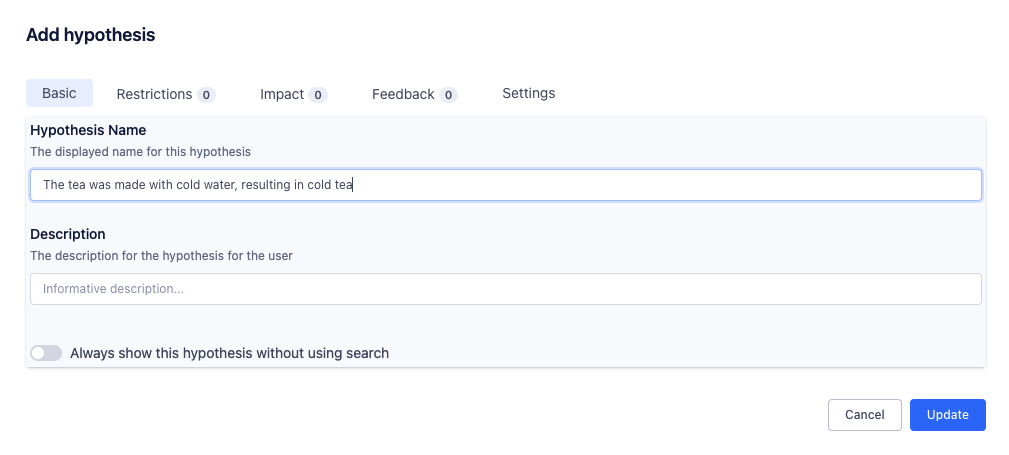
Paste in the first hypothesis into the name box, and click ‘Update’. This will add it to the list. Repeat the same process to add the other 2 hypotheses.
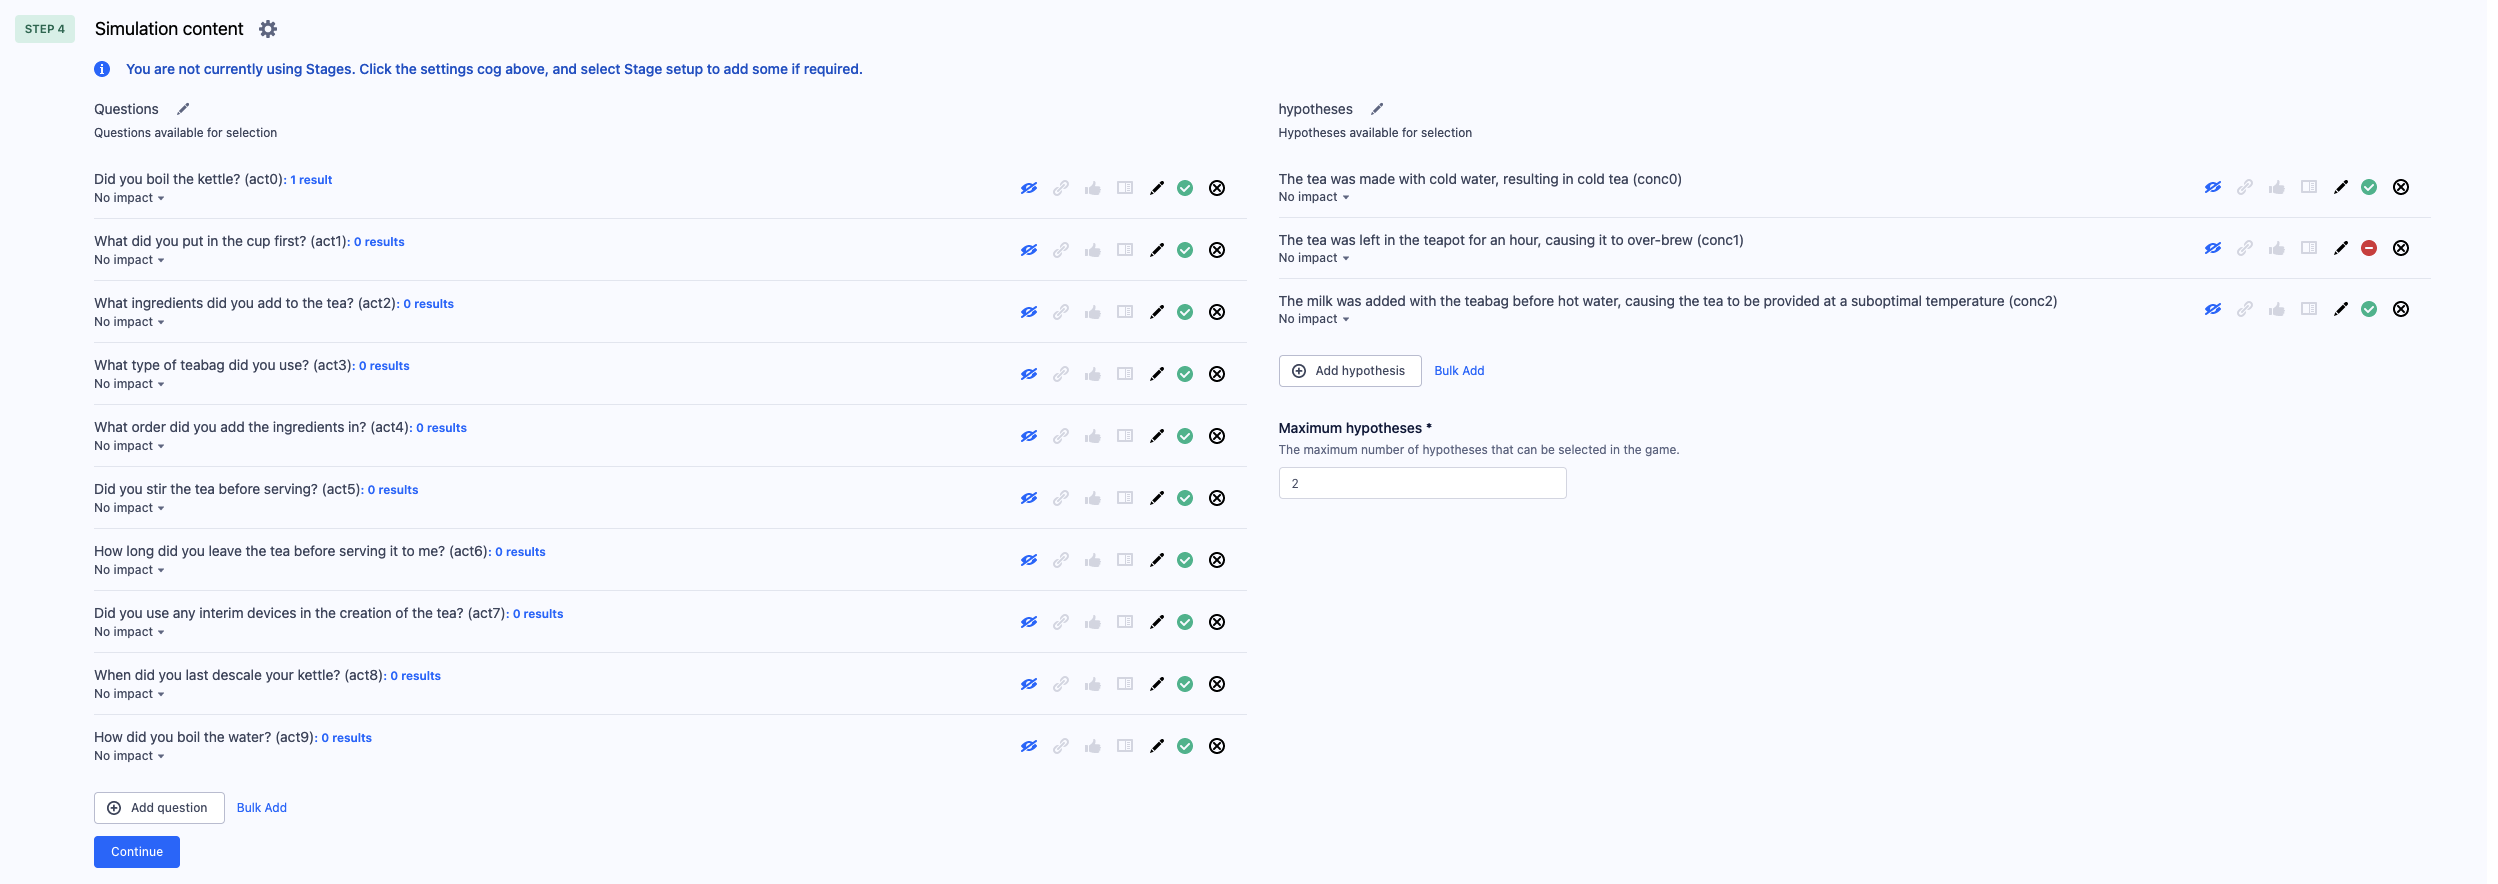
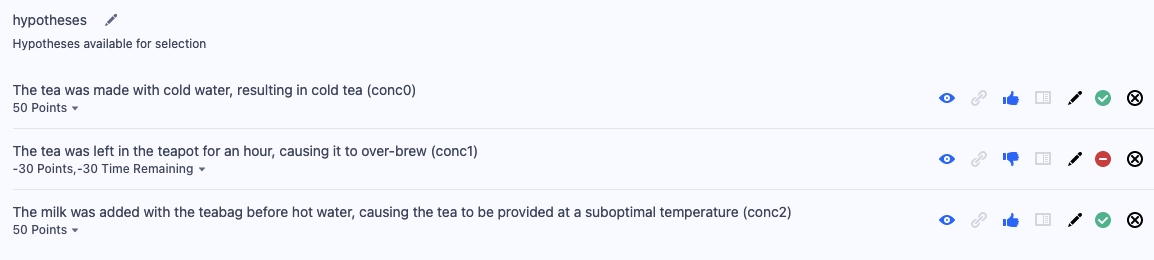
Identifying the positive and negative decisions
Now all of our questions, responses and hypothesis have been added, we can proceed to identify the correct decisions and also add scoring impacts. To identify the correct decisions, click the red symbol (no entry sign) against each of questions and hypothesis shown below, or pick your own. The red symbol will turn green, indicating it is a positive decision.
If an answer is partially correct, you should mark it as a correct answer. This helps the system calculate the correct optimal path and also helps the learner understand whether the feedback you will provide is positive or negative.
Once you have completed setting positive and negative decisions, make sure you save the Resim.
Setting impacts
The next step is to add impacts. Every decision can have add, remove or do nothing to the scoring components. For example, for a good decision 10 points might be added, for a mediocre decision 2 points might be added. For a wrong or incorrect decision, we might remove 30 seconds from the remaining time. Under each decision, click ‘No Impact’, and a popup dialog appears.
Clicking this dialog shows existing used Impacts, provided for quick re-use, and also the ability to add new Impacts.
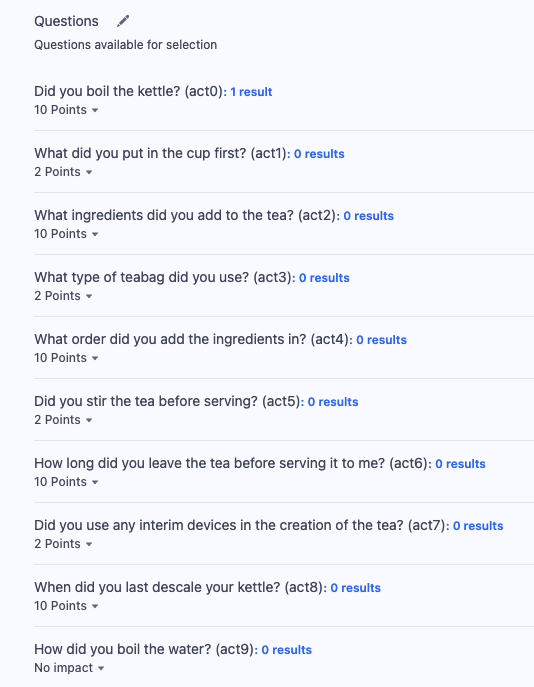
On the first ‘Did you boil the kettle’ question, click the ‘No Impact’ button and select ’10 points’. When the learner selects this decision, they will accrue 10 points.
Once done, select the next question and add 2 points by changing the number to 2, and selecting ‘Points’. Add remaining points to the questions as you need.
Once done, you should see a setup of points like this:
Next, we need to configure the impacts for the 3 hypotheses. We’ll make these more complicated – if the correct hypothesis are selected, we’ll award 50 points. If the wrong is selected, we’ll deduct 30 seconds and also remove 30 points. Click ‘No Impact’ and add the impacts as shown in the image below:
Controlling search
To make this Resim interesting, we are going to used a mixed-mode search on our investigation. The hypothesis will be ‘always shown’ – so when the user selects a hypothesis, they will not need to search, but instead choose one from a list. The questions however will need to be searched.
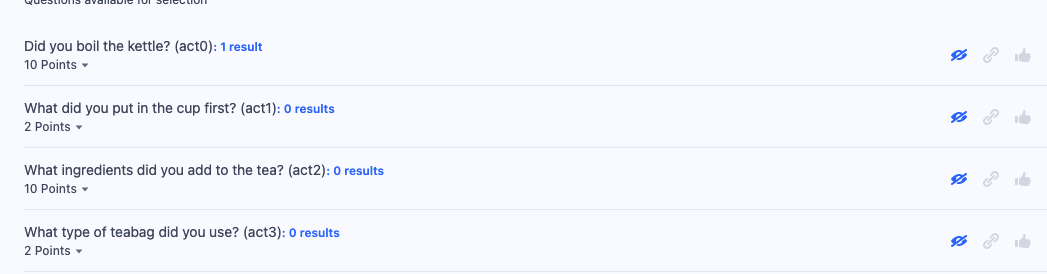
To control this feature, we click the ‘eye’ icon next to each question and hypothesis. For the hypothesis the eye should be shown clearly, for questions the eye should be struck through (meaning that the question will need to be searched). The icons should look as follows:

Adding feedback
Lastly, let’s add some feedback. If we collapse Step 4, we can see currently 0% of decisions have feedback. Ideally we want this to be at least 50% if not higher – so that as learners take decisions, we can help them understand whether they have made the correct choice or not.
For our questions, we’ll provide immediate feedback, and for our hypothesis, we’ll provide feedback after the Resim ends. To add feedback, we can click each of the feedback icons:

The ‘thumbs upo’ icon is instant feedback – provided when a decision is taken, during the Resim. The other icon is ‘after Resim’ feedback – provided during scoring (or for an assessment, when the whole assessment for the cohort closes). Click this icon next to the first question (‘Did you boil the kettle’), and a dialog appears:

Add ‘A great question to ask. The will help you eliminate temperature issues.’ as the feedback for this question in the first text box to give immediate feedback. We will not add post-Resim feedback in our example this time. Once feedback has been added, you will notice all feedback icons will be highlighted:
You can also see your ‘feedback coverage’ by closing Step 4 (click Step 4 icon to close it):
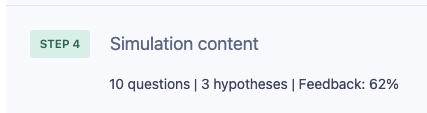
Our content is now complete, so let’s proceed to finalise our Resim.
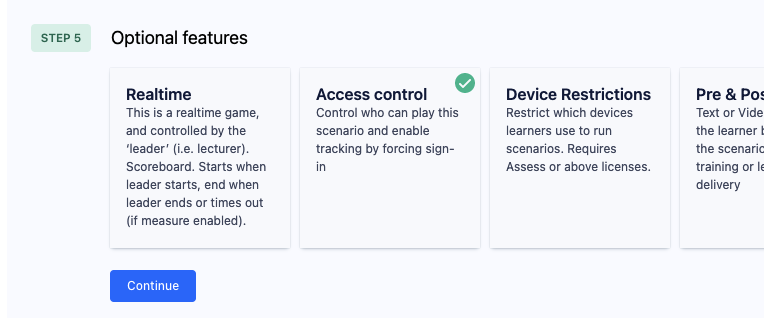
Setting Optional Features
By default, signed in and anonymous learners can run this scenario. In our case we want to track who runs it, so we are going to set ‘Allow Anonymous Users’ to false. To do so, click continue to activate Step 5 (or click on Step 5 – Optional Features). Click Access Control:
Then toggle Allow Anonymous Users and set it to ‘off’:
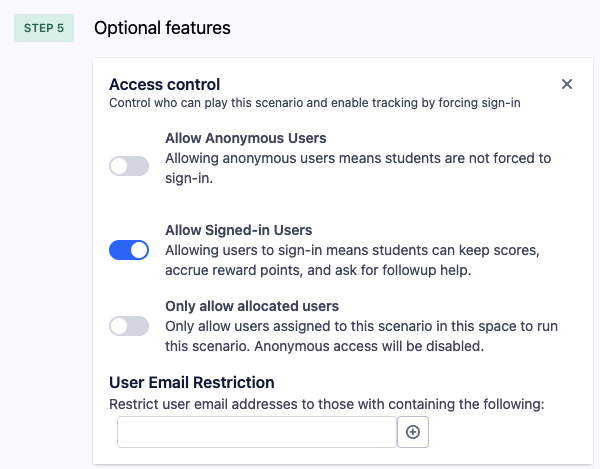
We are now ready to activate and test our Resim. Click ‘Continue’ to the final step.
Activating the Scenario
Before activation, make sure the Resim is fully saved – scroll to the top of the screen and click ‘Save Changes’.
Then, under step 6 (‘Try it out!’) click ‘Activate Scenario’. This will generate a 6-digit code which identifies the Resim to your learners:
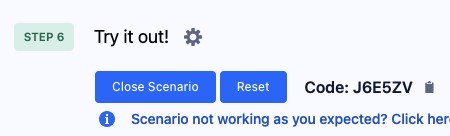
Every code is unique. Your code will be different to the one shown.
Running the Scenario
Ready to test your Resim? Visit https://go.resimion.com and enter the code you copied in the last step, and run your Resim and test your first investigative scenario!
Want to edit or make changes? Experiment as much as you like! Just note that you need to press the ‘Reset‘ button to start a new session before you can make changes to your scenario.
For help, press the ‘Help’ button at the top of the screen, or email us at hello@resimion.com.